Quick-Start Guide
You've just signed up for our free trial. We are already crawling your website to fill your search with content. At this point you might be wondering: what do I do now? How do I get my new search up and running on my site?
This quick-start guide walks you through the process in 3 steps.
1. Check your indexed site(s)
The quality of your search depends on what our crawler finds and indexes. Start in the Data Sources section of the Control Panel.
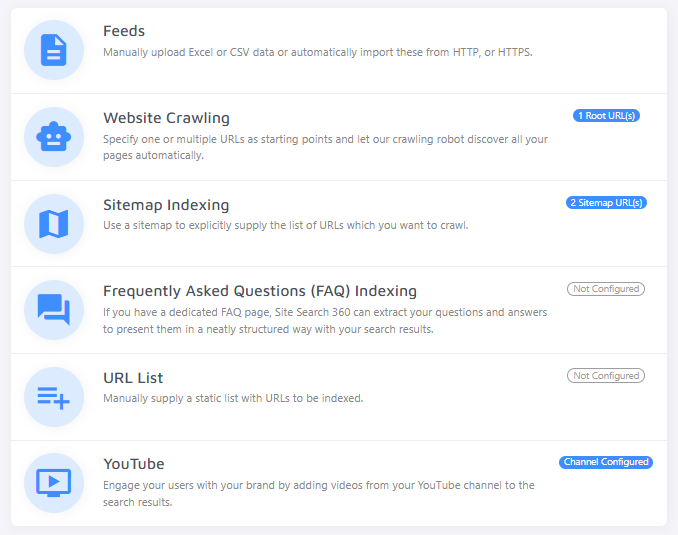
Go to Website Crawling and confirm that we are crawling the correct website(s).

Consider providing a sitemap under Sitemap Indexing instead of your root URL. Sitemaps enable faster, more efficient crawling and are an integral part of good SEO practices.
Once you've confirmed we are crawling the right site or sitemap, move on to step 2.
If you have an online shop with a product feed, upload a feed or provide a feed URL under Feeds. If you don't see a Feeds section, sign up for a trial of our e-commerce search or contact support.
2. Improve your indexed content
On the Dashboard, you'll see how many pages (and possibly products) are in your index.

Once the crawler has made enough progress, go to the Search Preview and test a few queries. Testing here does not affect your quotas.
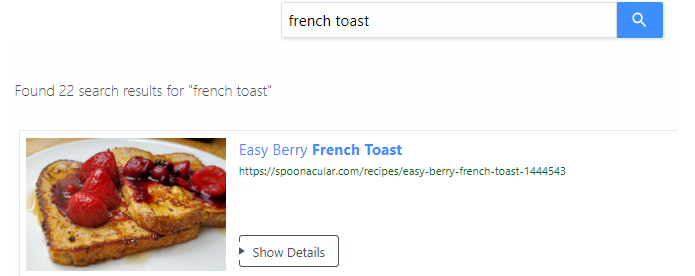
If you're happy with the results, skip ahead to step 3. If you find unwanted pages or results that don't look right, do some finetuning first.
Blacklisting and Whitelisting
To control which pages appear in your search, use black- and whitelisting. Blacklisting excludes pages from your index and prevents the crawler from following links on those pages. Whitelisting tells the crawler to index only pages that match the whitelisting rules.
Both blacklisting and whitelisting have a significant impact on your search index. Use them carefully.
You can blacklist or whitelist using URL patterns, XPath, and/or CSS selectors. For example, blacklist the URL pattern /tag/ if pages like blog.mysite.com/tag/breakfast clutter your index.

Alternatively, set up a no-index URL pattern. The crawler will skip indexing pages matching /tag/ but will still follow links on those pages to potentially relevant content.
Not sure whether your index needs improving? Review your indexed pages under Control Panel > Index to identify where blacklisting or whitelisting rules might help.
Possible Issues
If you have problems with duplicate URLs (e.g. mysite.com and mysite.com/ or mysite.com/page and mysite.com/page?utm_campaign=google), refer to our guide on cleaning up duplicates.
For errors in your index, refer to the documentation on fixing common errors.
Adjusting Titles, Images, and Content
The Site Search 360 crawler automatically pulls the most relevant content for your search result titles, images, and descriptions. In some cases, a tricky site structure may prevent it from finding the right content.

You can tell the crawler exactly what to use under Data Structuring > Content Extraction. This requires some familiarity with XPaths or CSS selectors — both are straightforward to learn. To switch to CSS selectors, use the toggle in the top-right menu:

With XPath or CSS, you can define the source of your search result titles...

images...

...and content.

Common sections to exclude include headers, footers, and navigation.
After making changes, reindex your site and test your search again. Refine, reindex, and repeat until you're satisfied, then move on to step 3.
3. Install your new search on your site
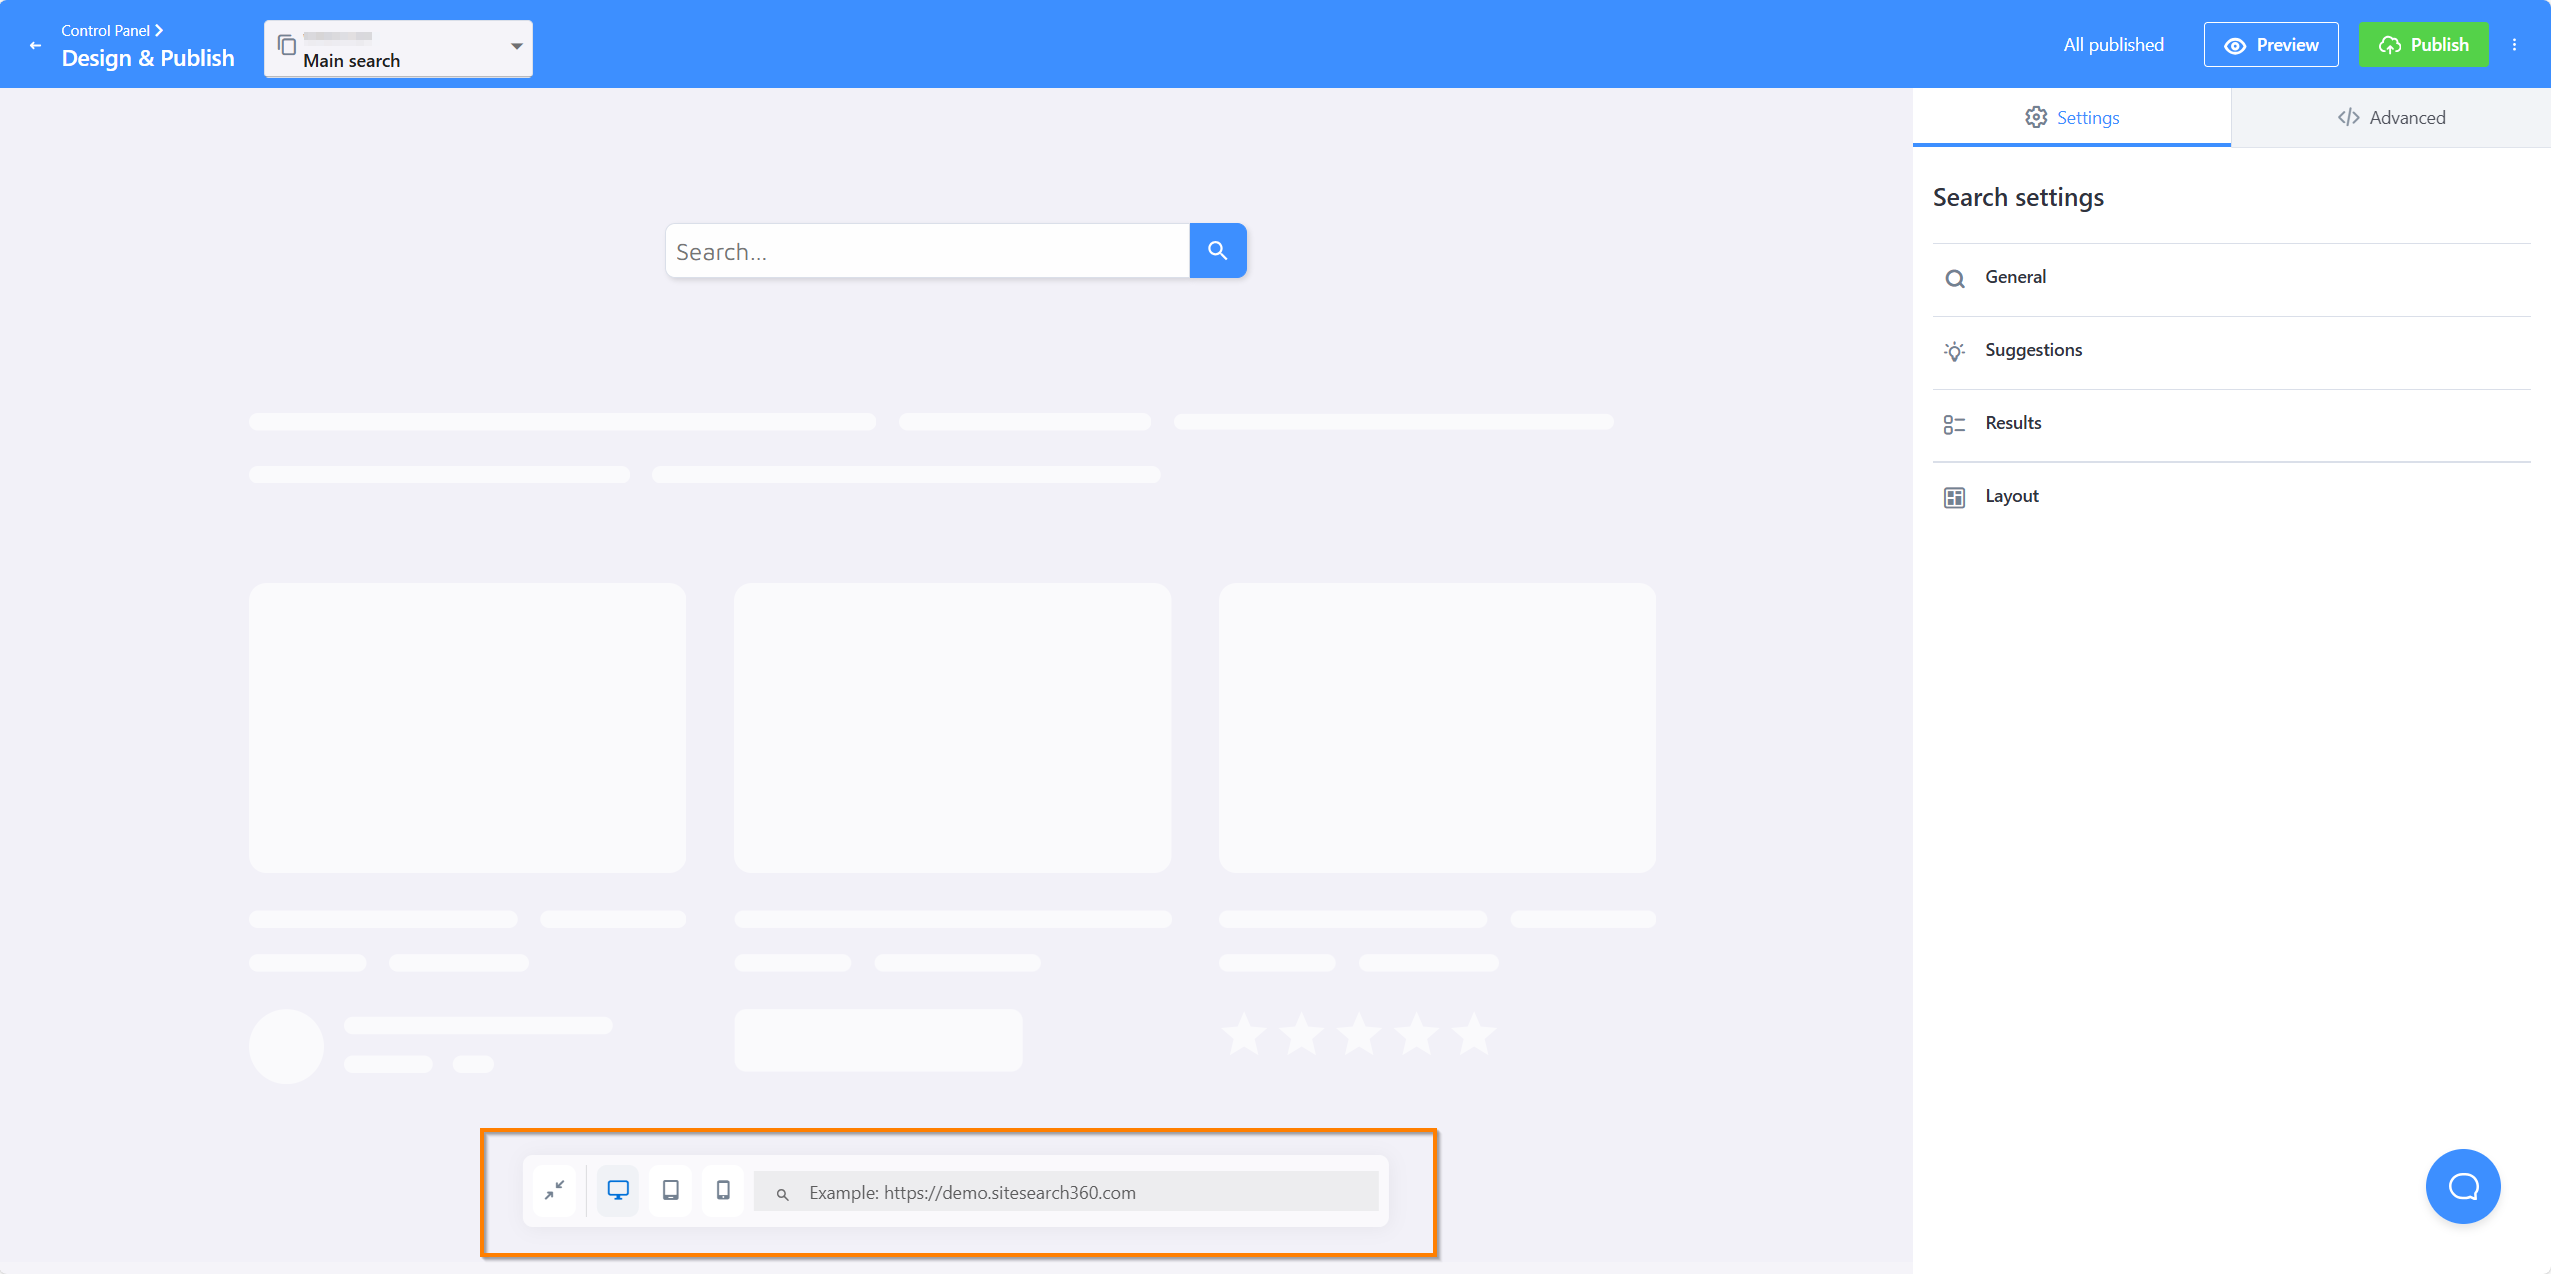
Go to Design & Publish and select Start now.

You'll see search customization options. Customizing the look and feel of your search will make it feel at home on your site. The guide to the Search Designer covers all the available options.
Connect to a search bar
Choose one of the two options below depending on whether you already have a search bar on your site.
Use an existing search bar
Load your website in the bottom bar and we'll try to detect your search bar automatically:
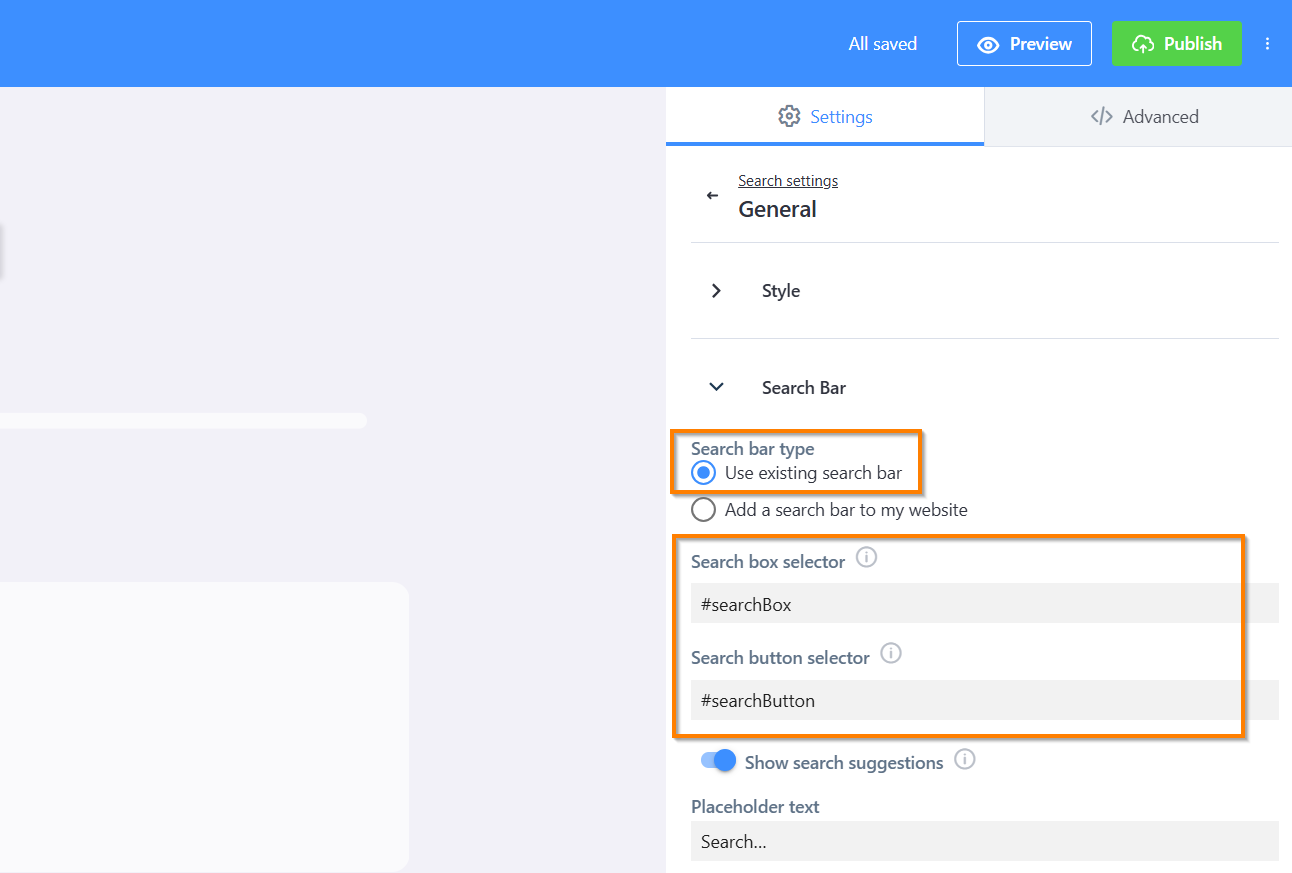
If it isn't detected automatically, set it up manually. Go to Search Bar in General Settings and enable Use existing search bar. You'll then need to provide two CSS selectors — one for the search input and one for the search button.
A CSS selector is a short string that identifies a specific element on your page — the same way a browser's dev tools do. The easiest way to find one is to right-click your search bar in your browser, choose Inspect, then right-click the highlighted element in the panel and select Copy → Copy selector. Paste that value into Search box selector. Repeat for the search button.
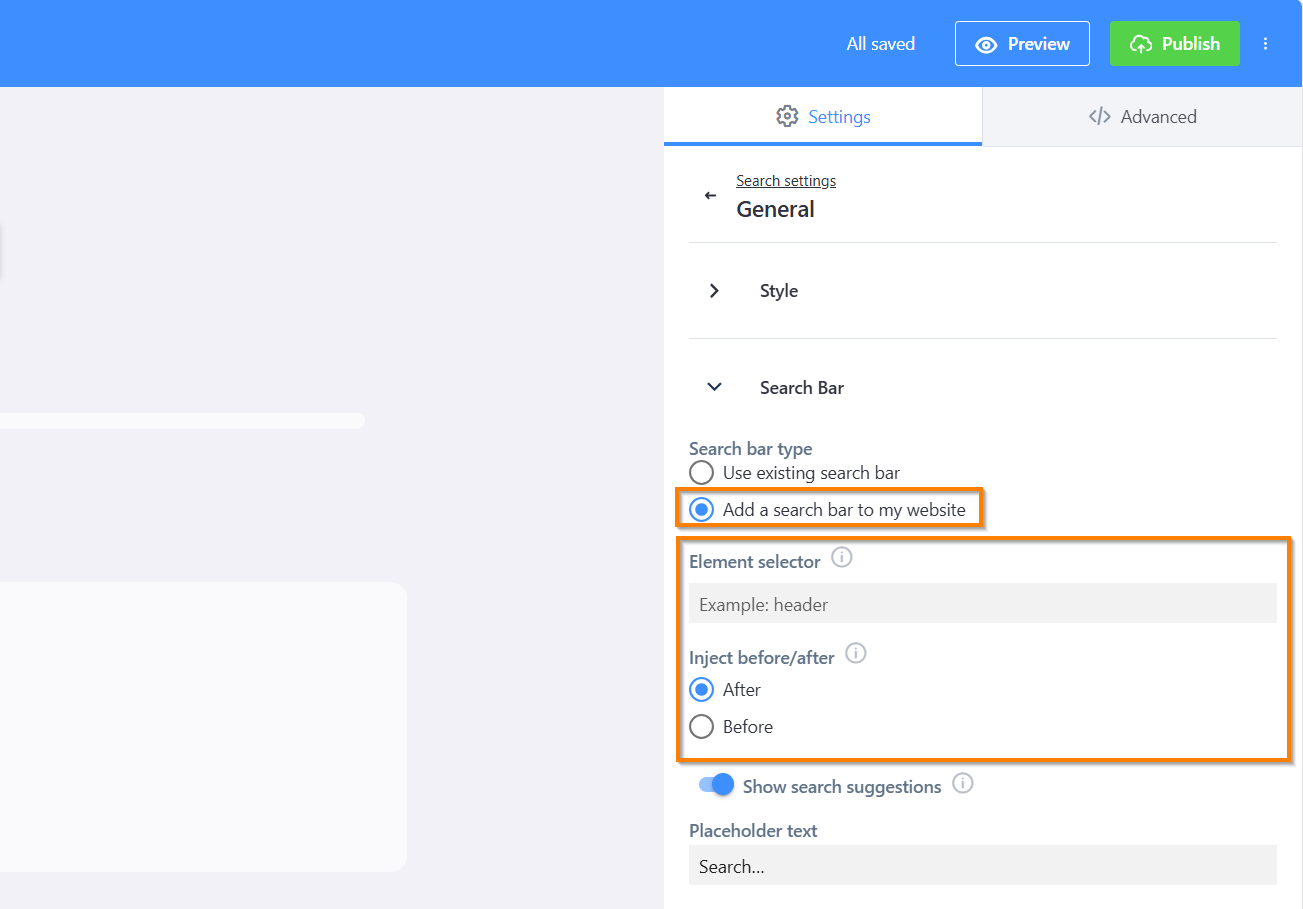
Add a search bar
Select "Add a search bar to my website" and specify whether it should appear before or after an existing element on your page — for example, in your site header.
If you're working directly in your site's HTML and prefer to declare the search bar in markup, add the following snippet wherever you want the search box to appear. This skips the auto-detect step entirely:
<section role="search" data-ss360="true">
   <input type="search" id="searchBox" placeholder="Search…">
   <button id="searchButton"></button>
</section>
The data-ss360="true" attribute tells the plugin to bind to this element instead of injecting a new one.
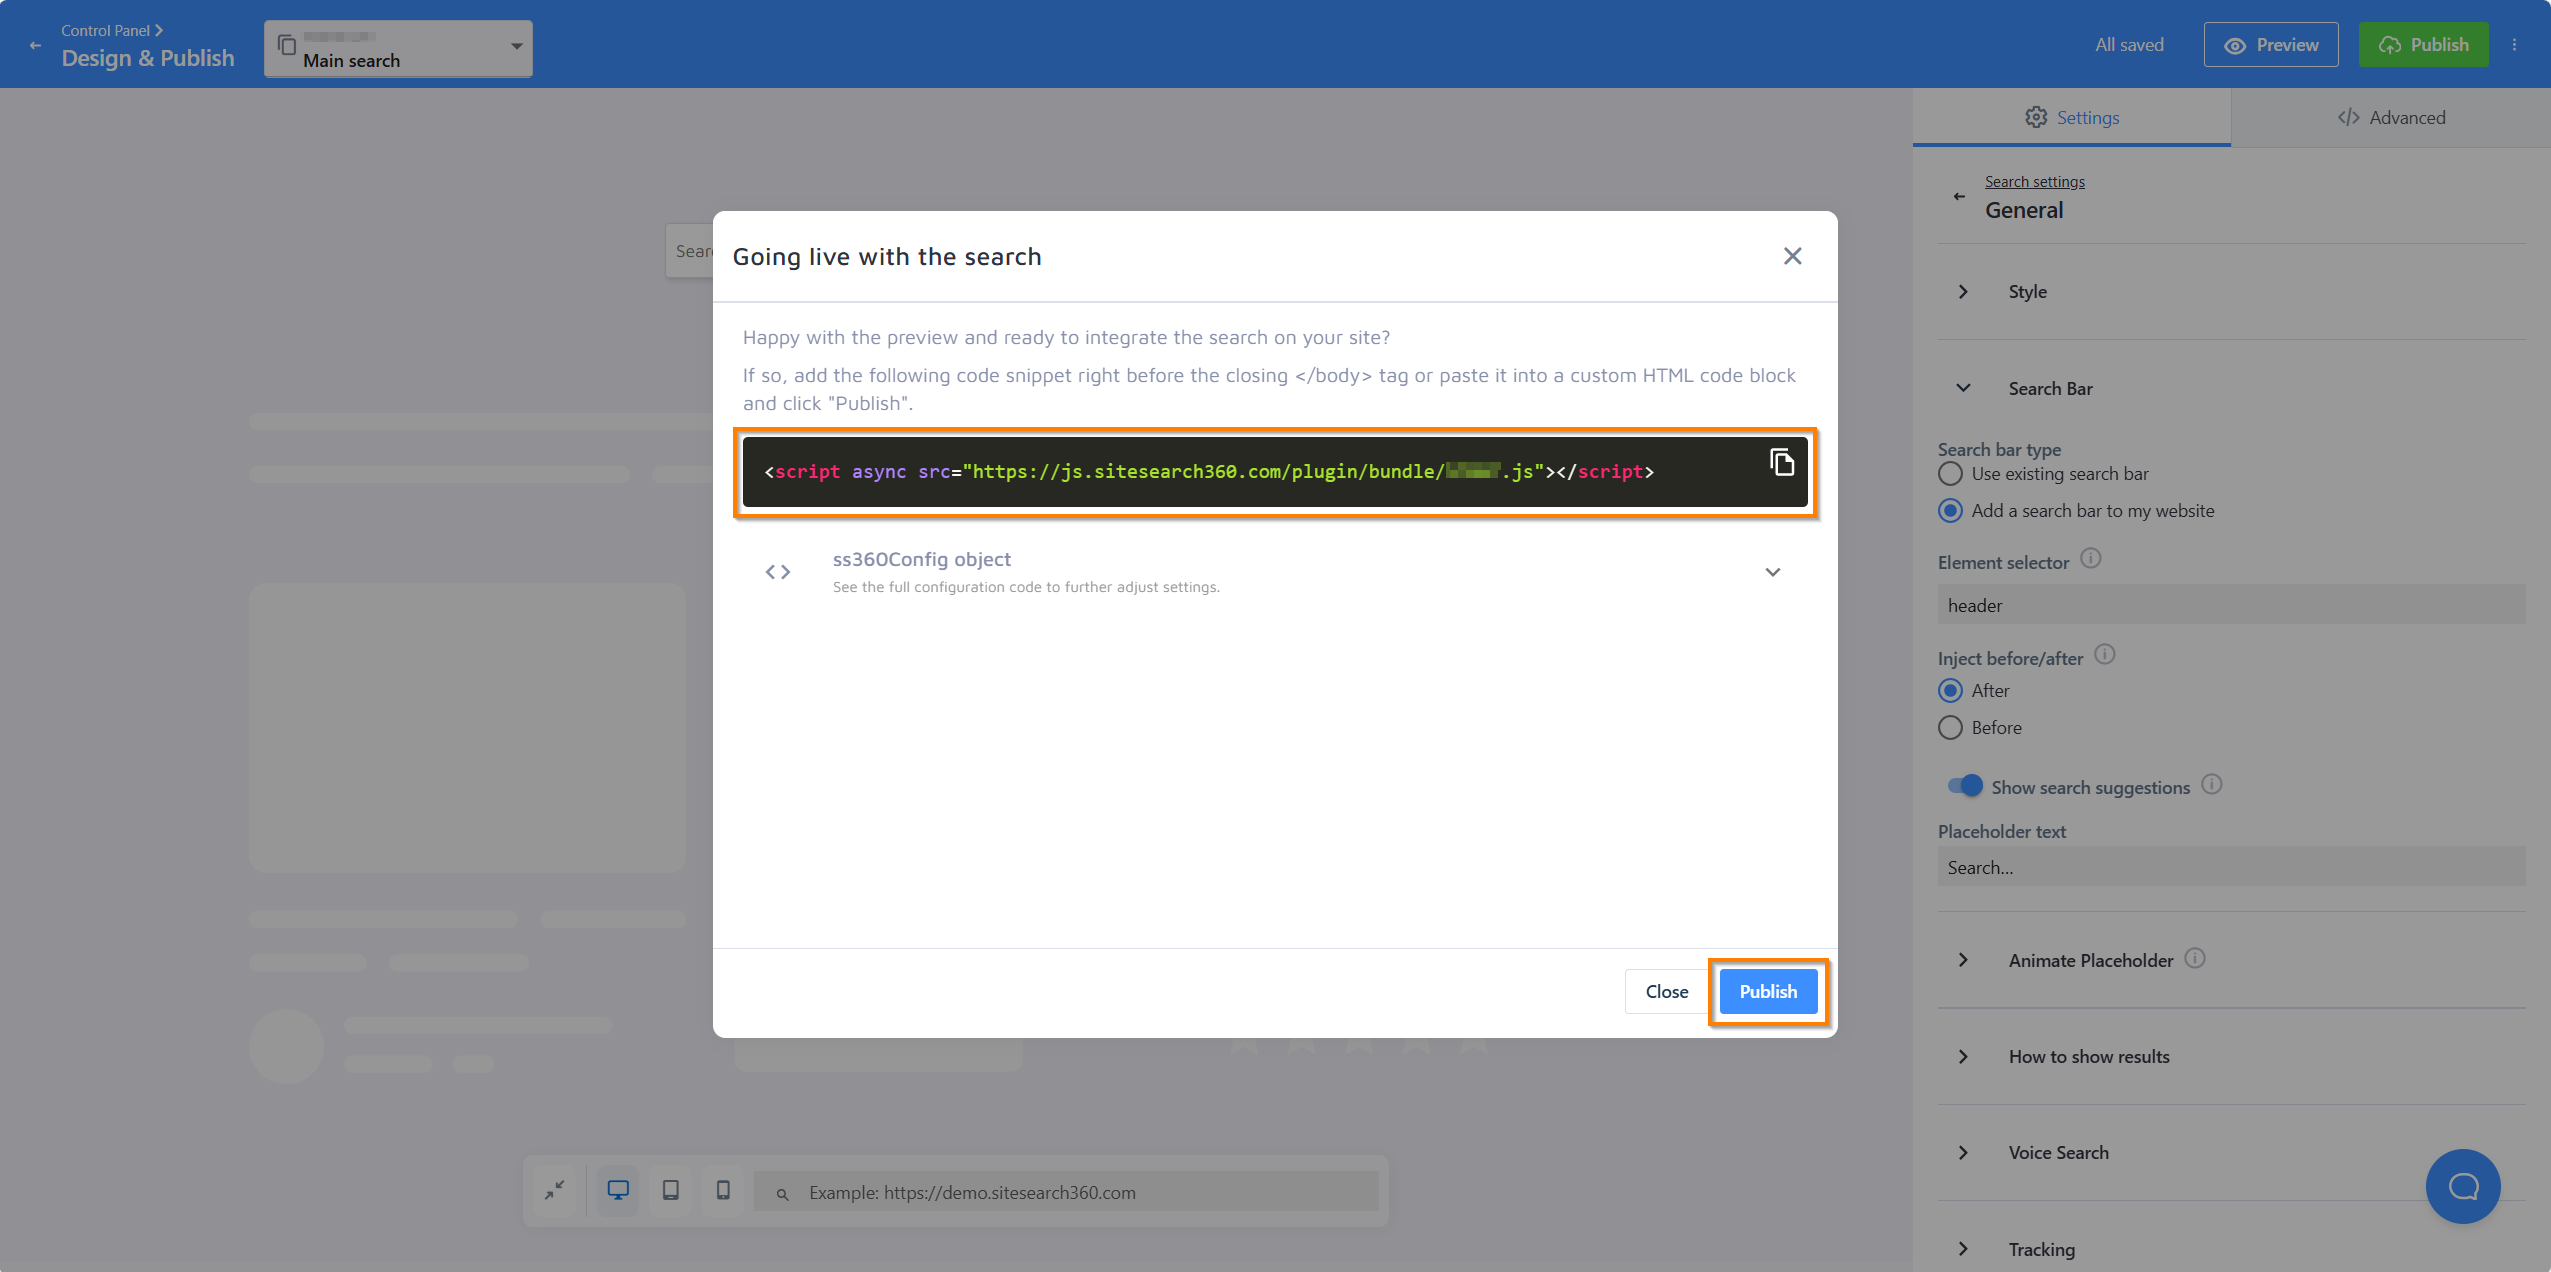
Publish and go live
Once your search bar is connected, press Publish in the top-right corner. A panel will open with your personalized code snippet — and an SS360 config if your setup requires one. The snippet will look something like this:
<script async src="https://js.sitesearch360.com/plugin/bundle/0000.js"></script>
Copy the snippet and place it before the closing </body> tag in your site template.
The last four digits in the snippet are unique to your project. Use your own code — do not copy the example above directly to your site.
Once the script is in place, come back to that panel and press Publish to make your search live. This second Publish is the step that actually activates it — the search bar won't appear on your site until you've completed it.
After that, you're all set. Your search bar should appear on your site within a few minutes.
Next time you return to the Search Designer to adjust settings, click Publish and wait a few minutes for your changes to go live. No need to touch the code again.
You may be able to skip the manual installation entirely by using one of our plugins or extensions.
However you choose to install your search, we hope you and your visitors enjoy the experience. Reach out with any questions or feedback.